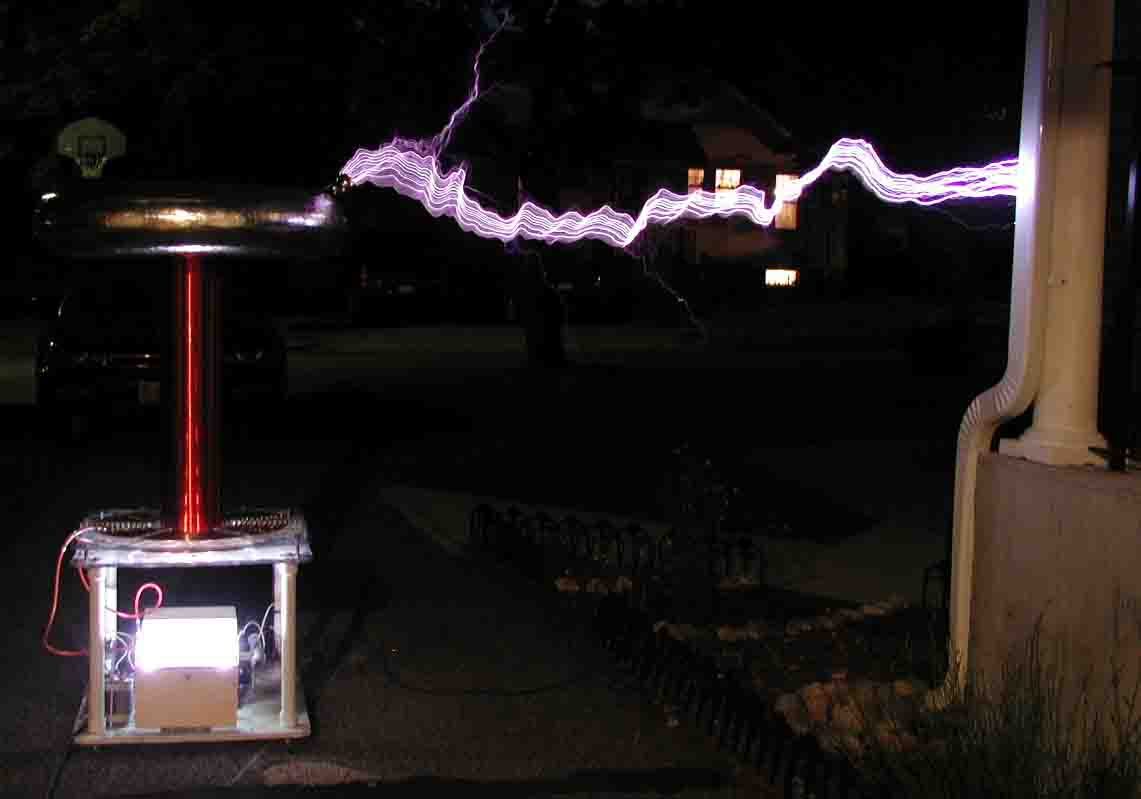
June 2004 - Above shows the longest arc that I have ever achieved - 66 inches
from the discharge point (doorknob) to an aluminum downspout. (Photo is
clickable for a larger image) This marked the unfortunate point in my
coiling career where I now have to set up outside of the garage, subject to the
wind, weather, ambient light, and neighborhood relations. Coil specs here
are: 15/60 NST @140VAC in, 120BPS propeller sync gap, .04uF cap, 7x30 toroid,
2-layer Cu tubing primary, 6.3x28 in 26AWG secondary.

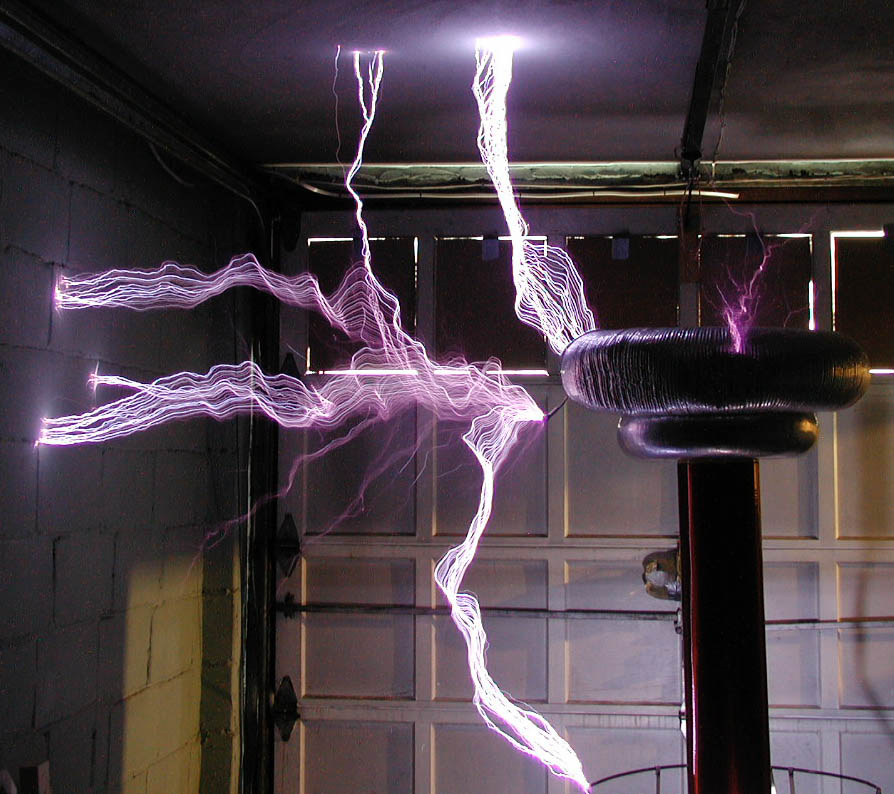
Above is one of my latest pictures, taken in July 2000, with
my Olympus C3000 3.3 megapixel digital camera. This camera features the option
of full manual control, essential for spark pictures. The shot was taken with
aperture of f\ 2.8, and an exposure time of about 2 seconds. Streamers which
connect to something come out very nicely but unattached streamers are somewhat
dim. The remarkable thing about spark pictures taken with this camera is the
clarity of the banjo effect - each "bang" produces a separate, visible streamer,
nearly but not quite parallel to the others.
This shot is with my 6" secondary, 15/60 NST, Maxwell
.02uF/45KV cap, and single static vacuum gap. The multiple
streamers despite having a breakout point are telling me that I
need a larger topload!
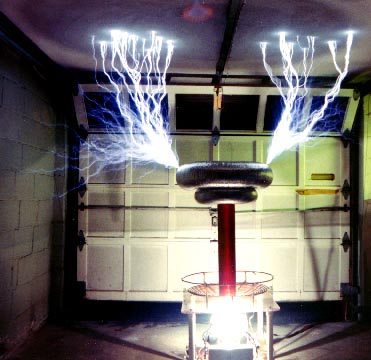
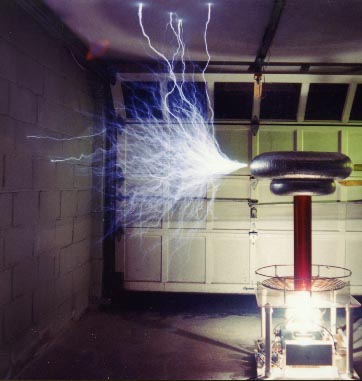
Above shows my coil running with it's single segment static spark gap. I have
two foil bumps on the top of the upper toroid to promote breakout. This is the
same configuration that with a single bump, yields 51-inch arcs. Note how much
brighter the arcs that connect to the ceiling are compared to the ones that just
go off to the left. The ceiling is made of a steel mesh with some sort of cement
applied to it. Note also the garage door track and the control wires running
beside it. Always disconnect all wires going to one's garage door opener before
running a coil!

This photo is similar to the one above it, but the tank capacitor is the
Multi-Mini polypropylene cap instead of the Fair Radio Sales cap. Exposure
conditions were probably different than the previous picture (I know I had a
small incandescent lamp on in this shot to light up some of the coil features).
I've noted no performance differences between caps.

Above is a picture I took when using my 12 segment RQ static gap. I am using
only the smaller 4.5 x 15 inch toroid. This causes several simultaneous
streamers to form, which looks nice in pictures, even if they're not
record-setting in length. This is about a 5-8 second time exposure at f/ 2.8,
ASA 200 film. At the time this was taken, I still believed in using chokes in
the NST protection network.
Above is how I determine the maximum streamer length. I place a foil bump on
the side of the larger toroid, aimed at the foundation wall on the left. The
straight-line distance from the tip of the bump to the wall is 51 inches. When a
streamer connects to the wall, it's much brighter than ones that don't connect,
so it's easy to see if the distance is met.
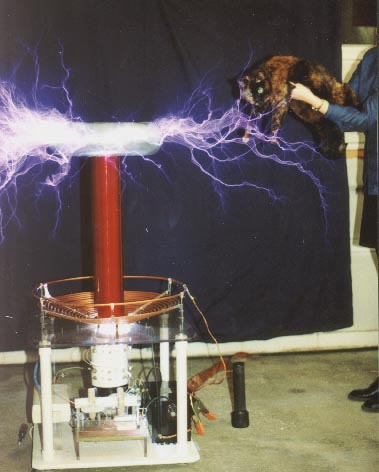
Here's one of our playful cats, enjoying my Tesla Coil. Don't worry, cat fur
is a naturally good insulator!
Can you say "double exposure"?

This photo shows my coil when it still had the flat spiral primary. With the
primary mounted below the Lexan support plate, I couldn't bring the secondary
any closer to improve coupling. I suspect that at the power level I'm running
at, and with my relatively narrow secondary, I needed the increased coupling
found in a conical primary.
Notice the parallel-lines appearance of the streamers. I've heard this
referred to as the "Banjo Effect", but don't know why. It demonstrates
that what appears to the eye as a continuous, luminous streamer, is actually a
series of separate, short-lived arcs that all follow a similar path. The channel
shifts upwards due to it's high temperature. Each short-lived arc is due to one
"primary bang", or primary capacitor dumping it's charge.
Back to Gary
Lau's main Tesla Coil Page